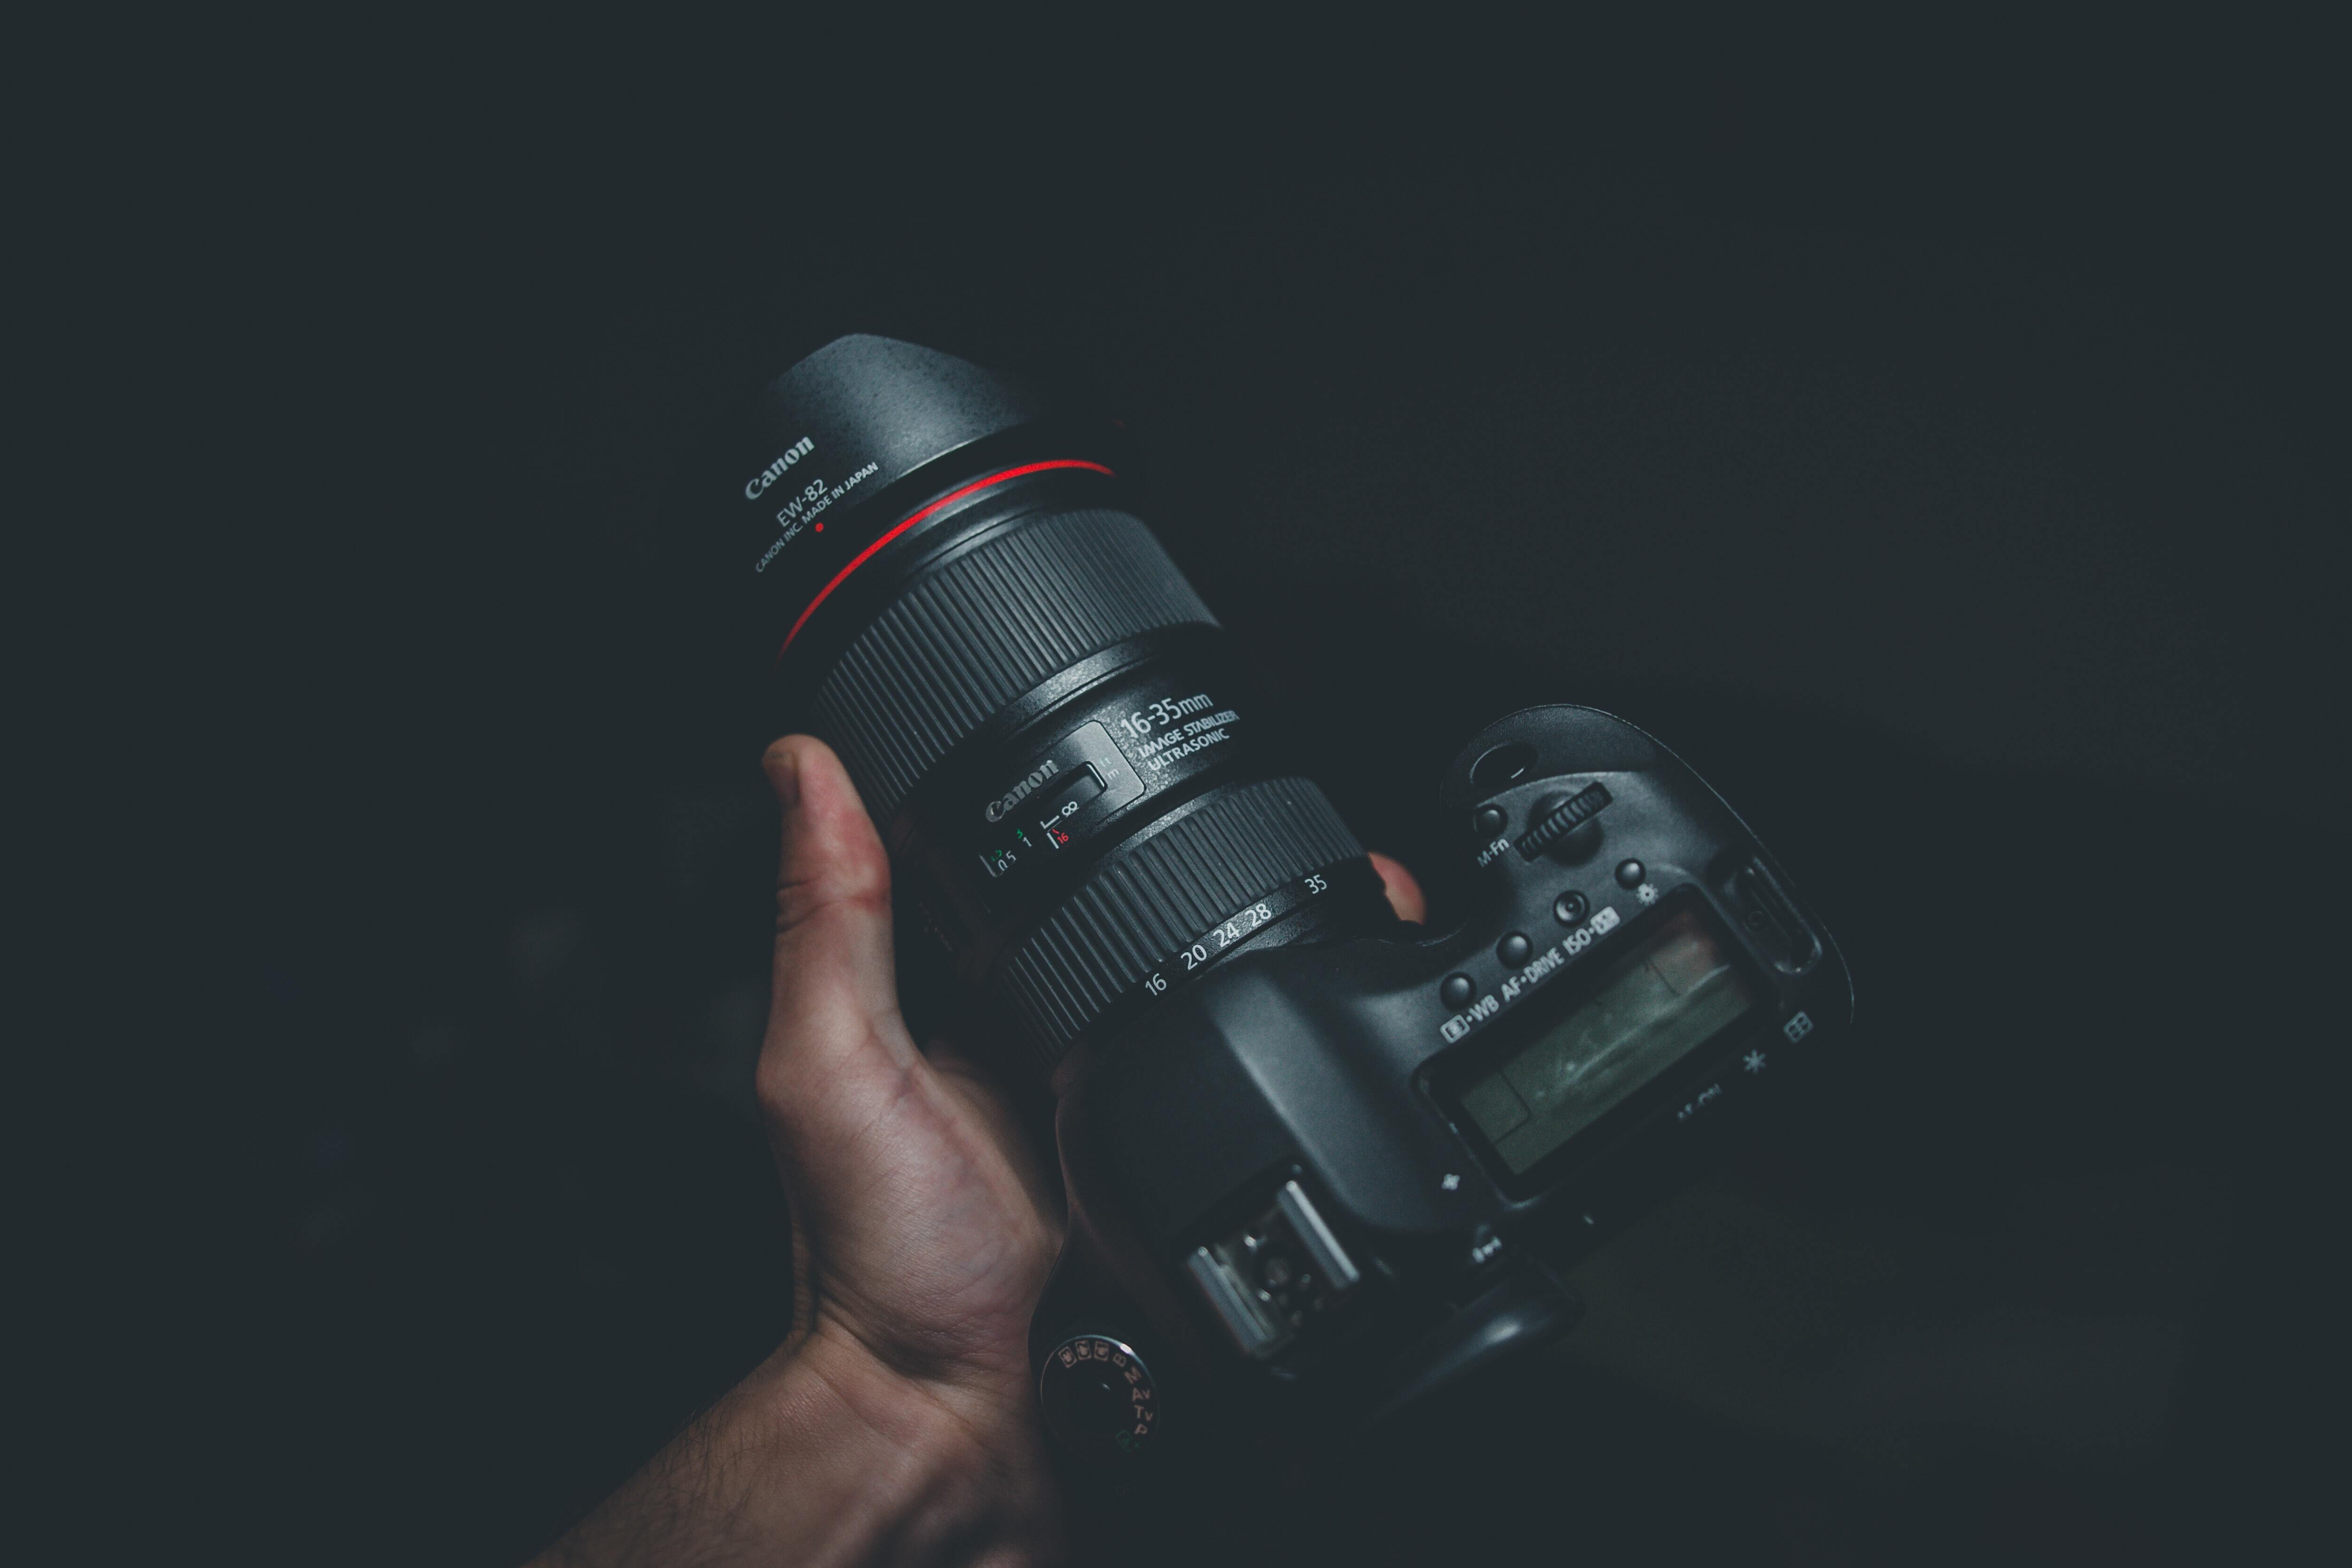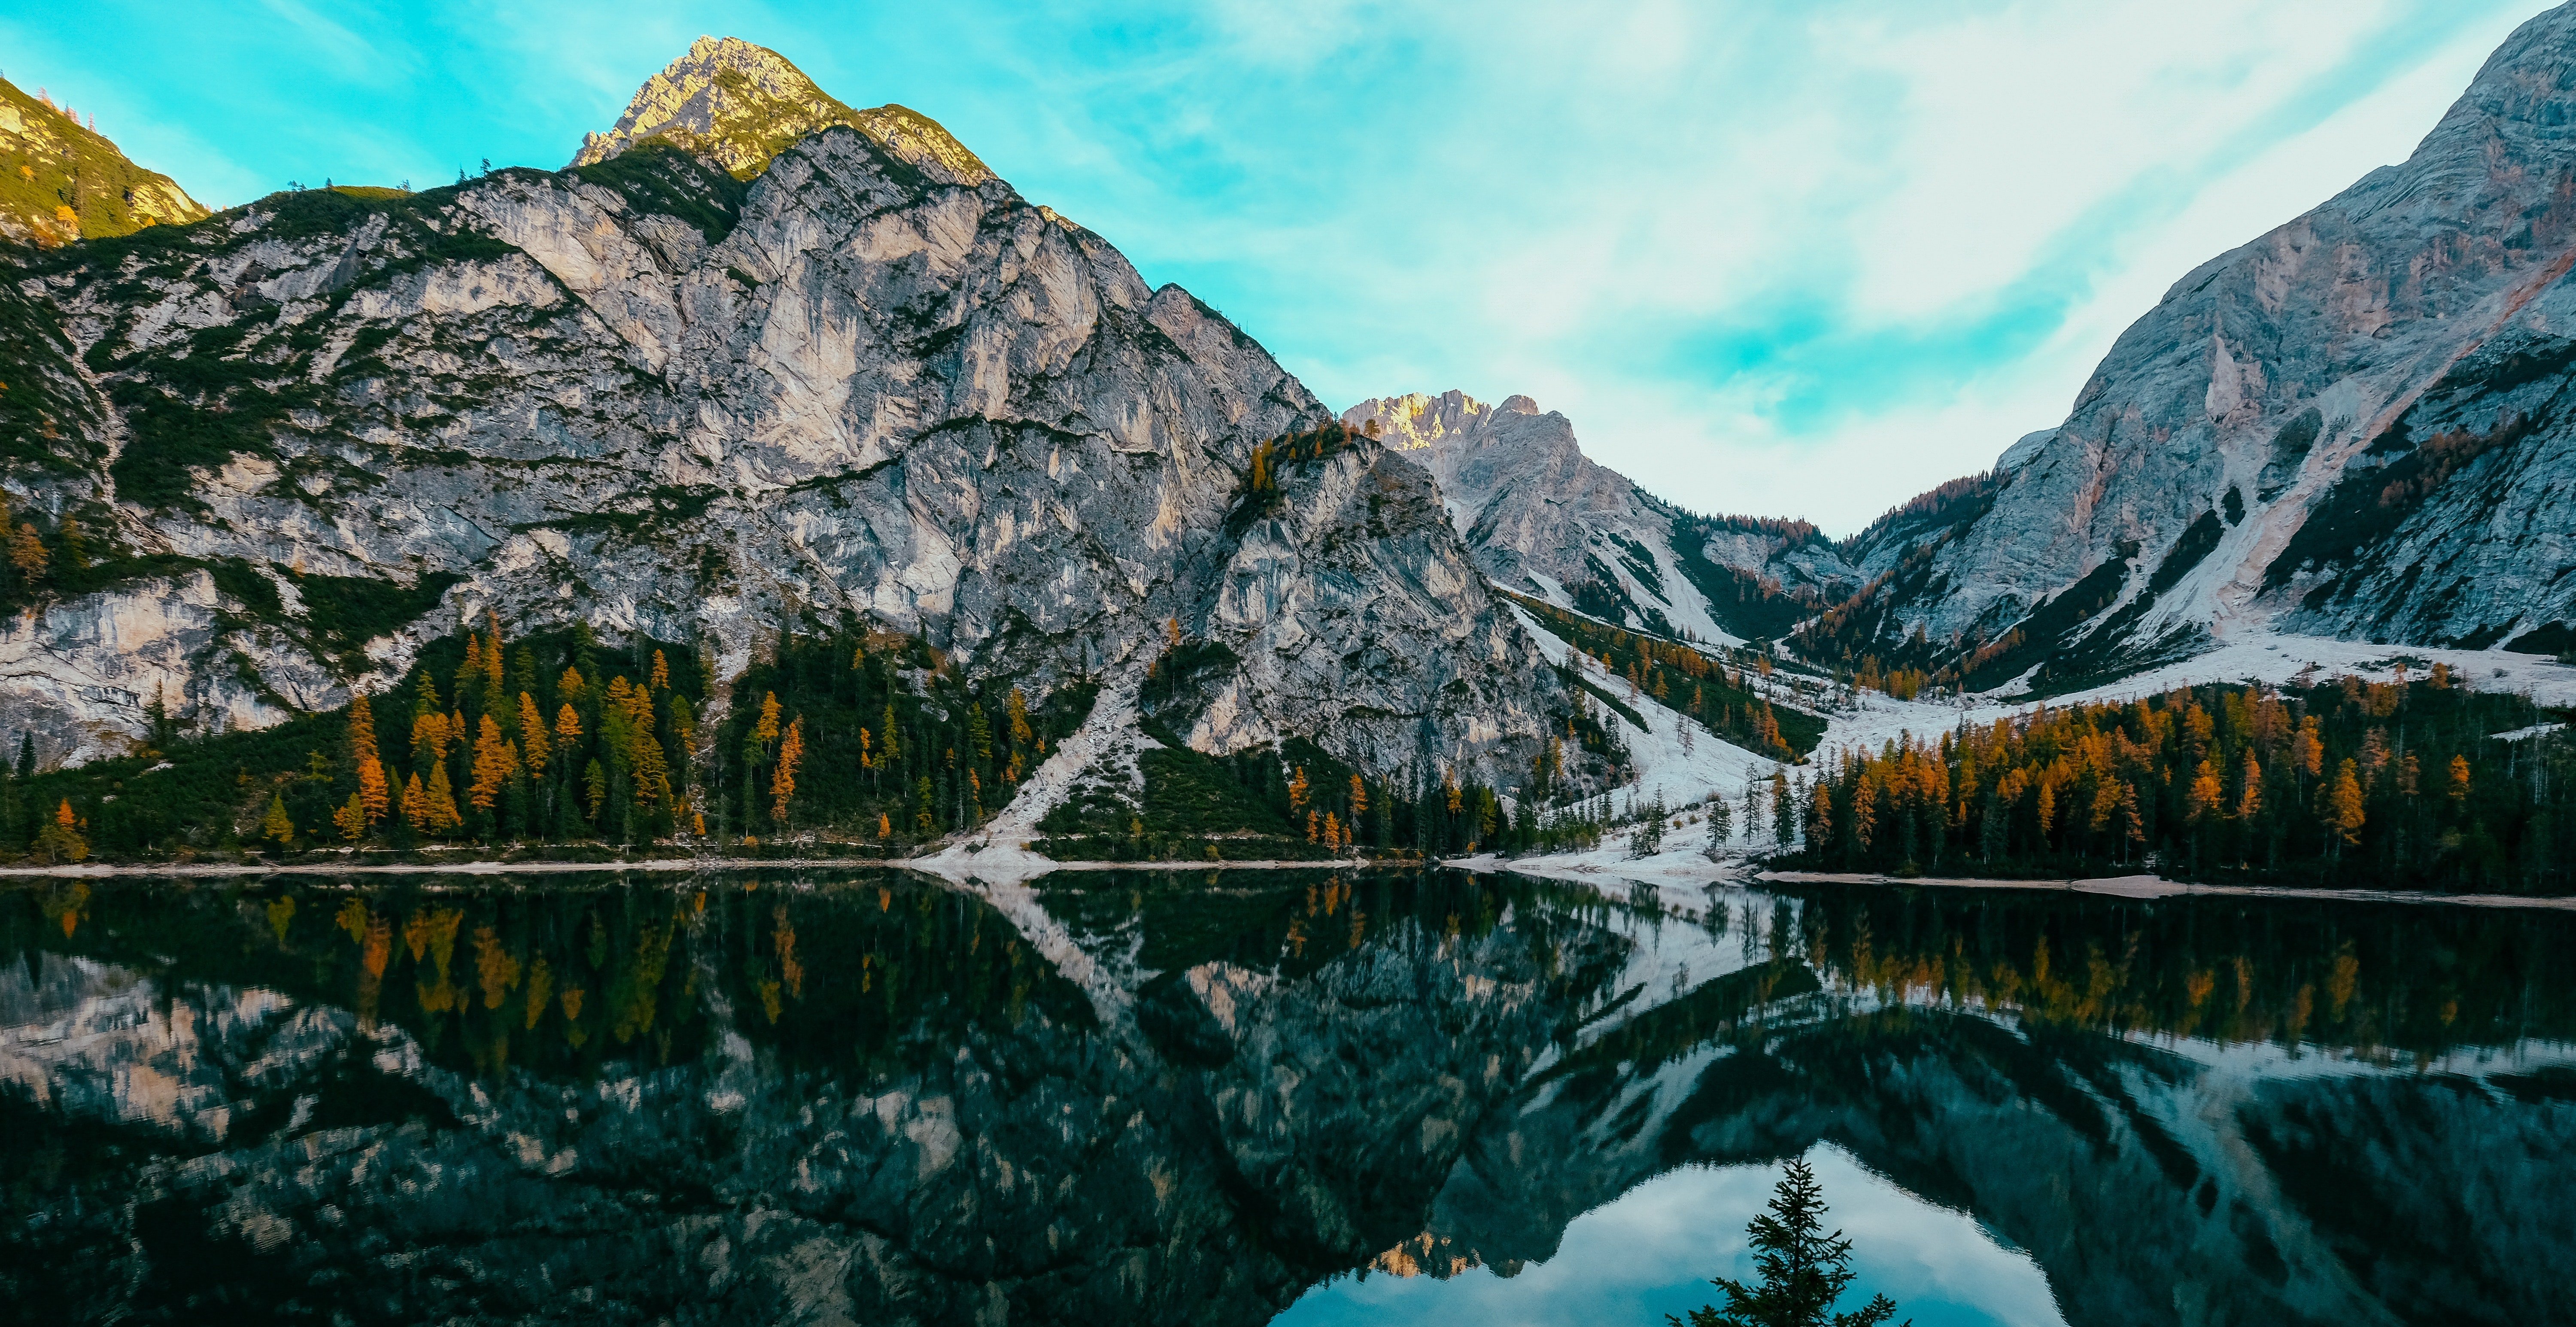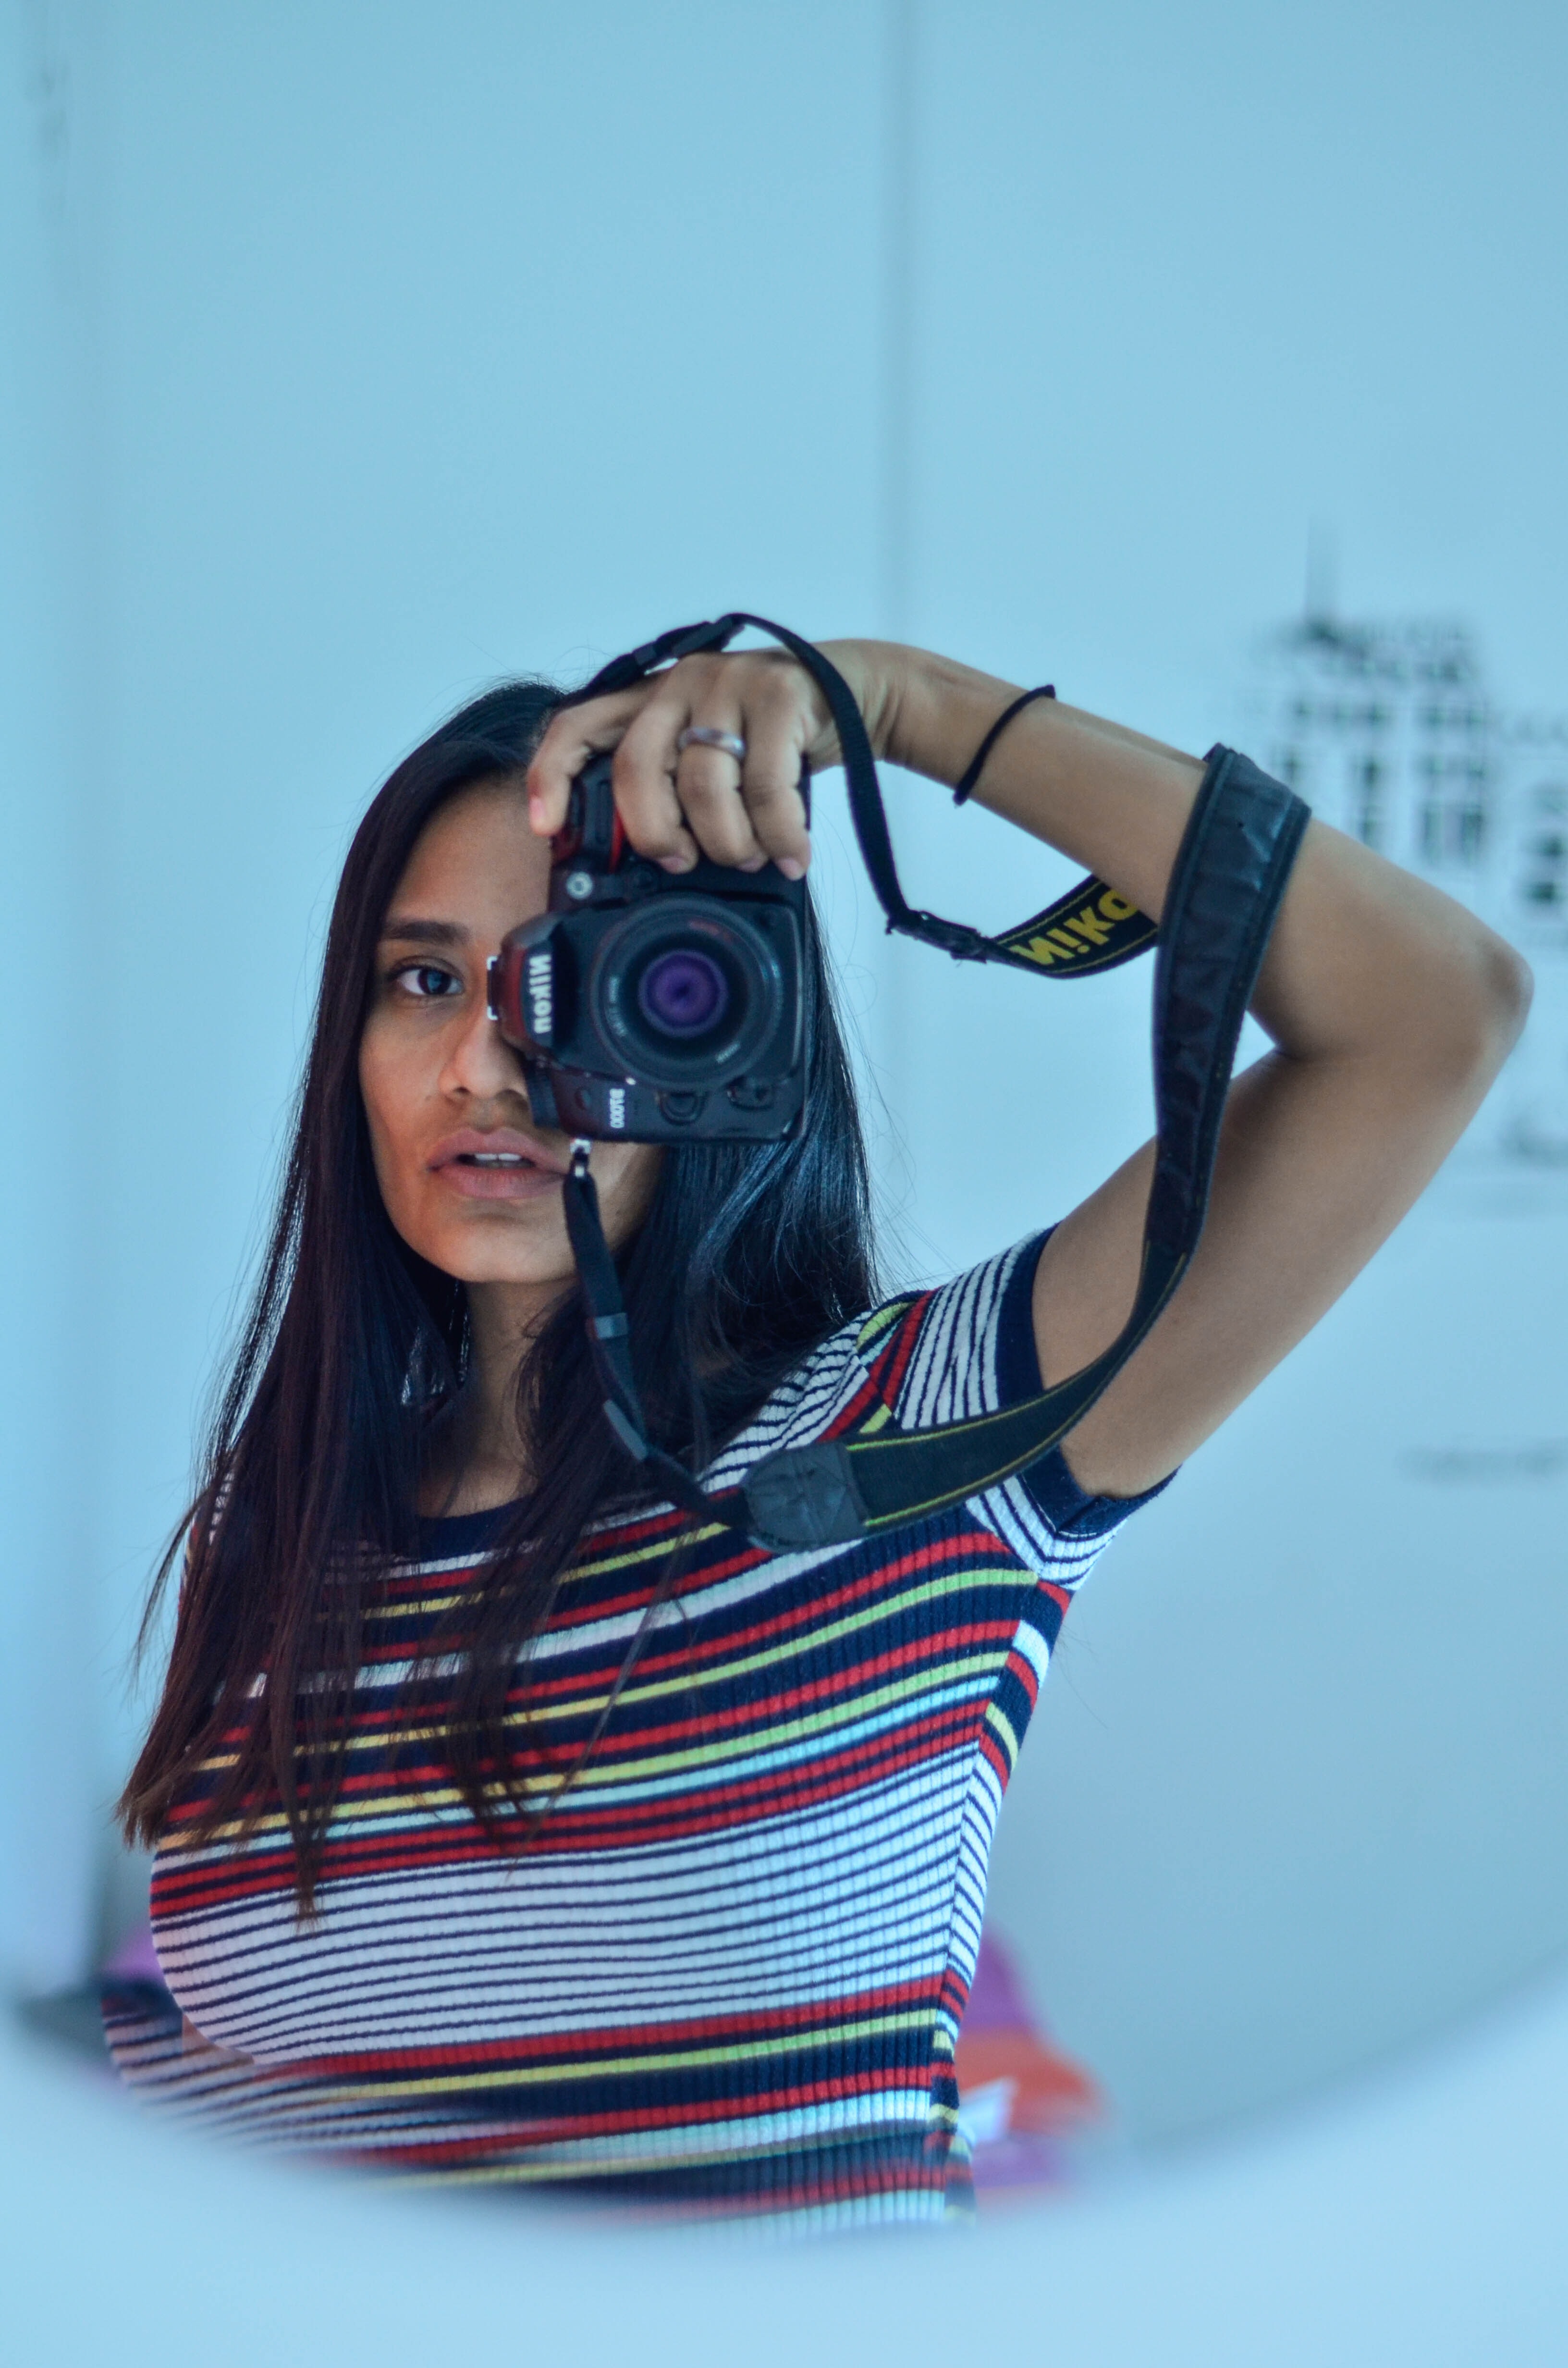
Example Image with Text
Use this Image with Text block to balance out your text content with a complementary visual to strengthen messaging and help your students connect with your product, course, or coaching. You can introduce yourself with a profile picture and author bio, showcase a student testimonial with their smiling face, or highlight an experience with a screenshot.
Example Text
Use this Text block to tell your course or coaching’s story.
Write anything from one-liners to detailed paragraphs that tell your visitors more about what you’re selling.
This block - along with other blocks that contain text content - supports various text formatting such as header sizes, font styles, alignment, ordered and unordered lists, hyperlinks and colors.
Example Title
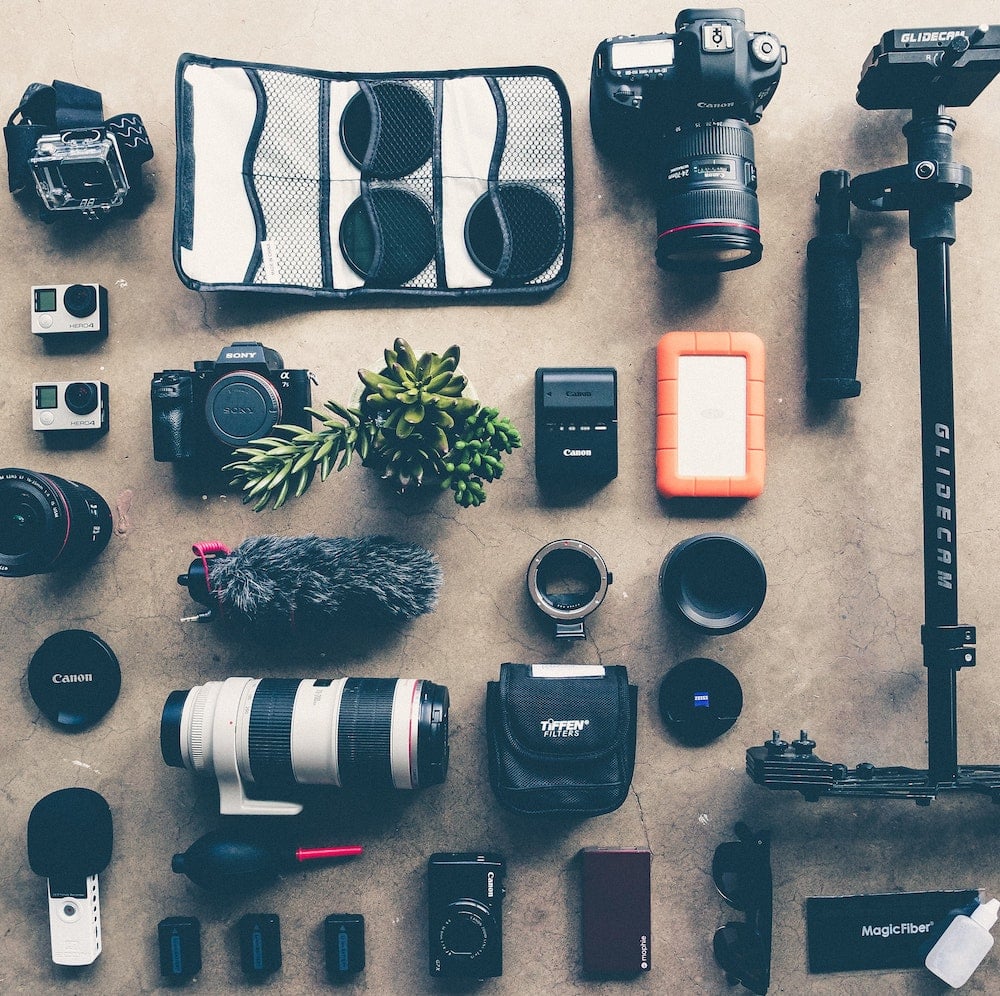
Use this block to showcase testimonials, features, categories, or more. Each column has its own individual text field. You can also leave the text blank to have it display nothing and just showcase an image.
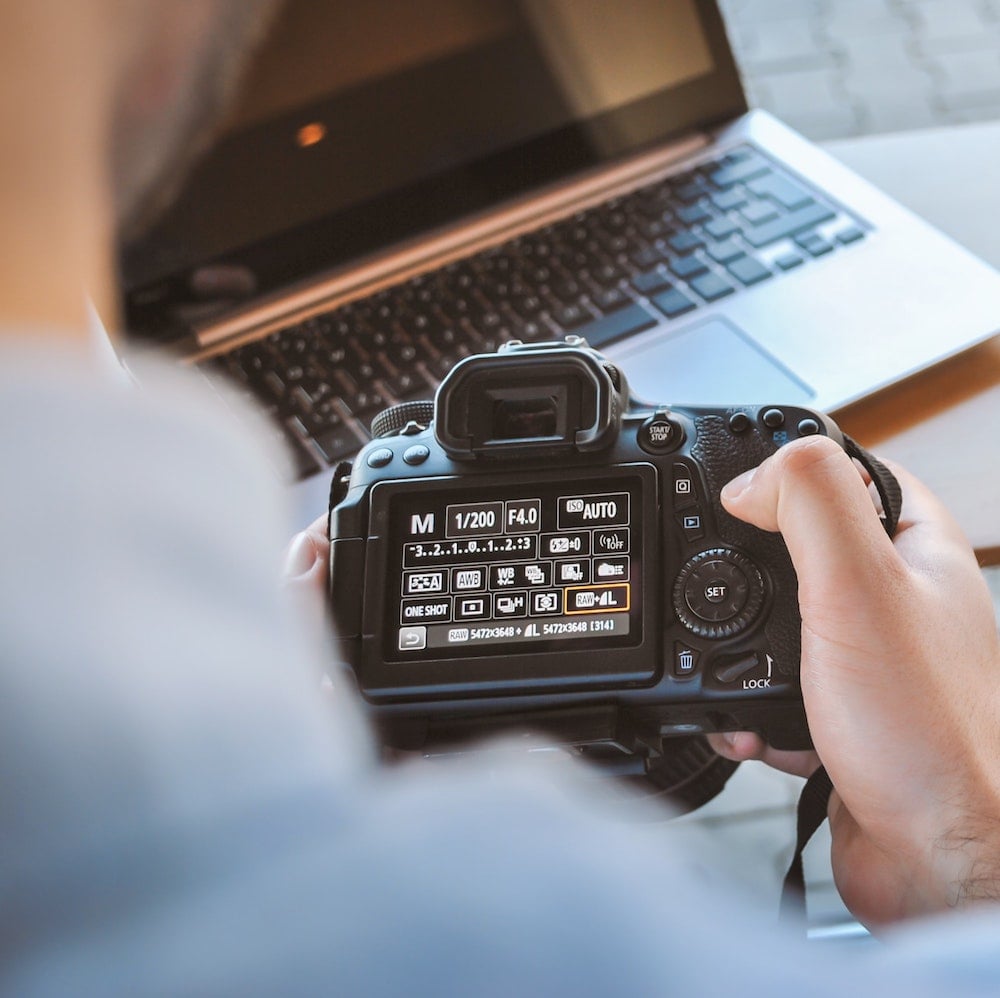
Example Title
Use this block to showcase testimonials, features, categories, or more. Each column has its own individual text field. You can also leave the text blank to have it display nothing and just showcase an image.
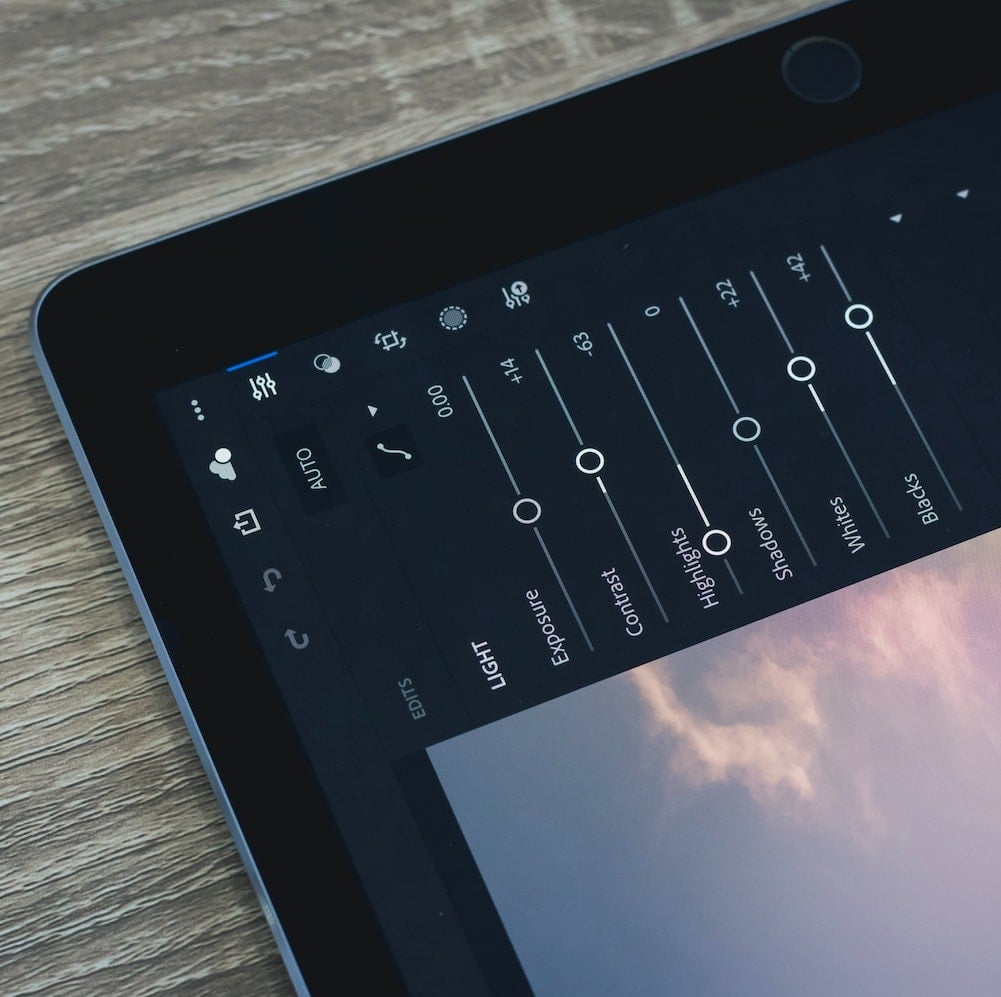
Example Title
Use this block to showcase testimonials, features, categories, or more. Each column has its own individual text field. You can also leave the text blank to have it display nothing and just showcase an image.
Example Curriculum
- 02 - Introducing the Color Range command (6:00)
- 01 - Color Range, Focus Area, and more (1:23)
- 03 - Customizing a Color Range selection (4:38)
- 04 - Localized Color Clusters and Detect Faces (8:55)
- 05 - Selecting a real-world photographic object (5:28)
- 06 - Cleaning up with the Wand and Brush tools (9:51)
- 07 - Refining your mask to absolute perfection (12:49)
- 08 - Shading the airplane to match the sky (7:15)
- 09 - Infusing the airplane with sky colors (7:45)
- 10 - Adding a custom Motion Blur effect (4:27)
- 11 - Adding a rocket plume (4:33)
- 12 - Introducing the Focus Area command (4:26)
- 13 - Using the Focus Area tool (4:50)
- 14 - Cleaning up a jagged Focus Area mask (9:42)
- 15 - Finessing hair and other details (7:25)
- 16 - Using the Select Subject command (3:41)
- 17 - Using the Select Sky command (3:21)
- 18 - The Sky Replacement command (3:45)
- 19 - Shift Edge and Fade Edge (4:06)
- 02 - Static selection vs. dynamic layer mask (7:09)
- 01 - Compositing like a pro (2:02)
- 03 - Perfecting mask edges with the Smudge tool (4:46)
- 04 - White reveals, black conceals (6:43)
- 05 - Real-world layer masking (7:22)
- 06 - Combining multiple passes of Color Range (6:38)
- 07 - Painting away gaps in a layer mask (12:00)
- 08 - Making your mask the best it can be (11:32)
- 09 - Feather and Density = even better hair (8:12)
- 10 - Introducing the Select and Mask command (4:51)
- 11 - Refine Hair and Object Aware (3:31)
- 12 - Edge Detection and Smart Radius (3:38)
- 13 - Remember Settings and Save Preset (2:11)
- 14 - Using the Refine Edge Brush (4:07)
- 15 - Enhancing the cloud man composition (5:19)
- 16 - Bringing back Refine Mask (7:16)
- 01 - Meet the transformations (1:32)
- 02 - Introducing the Free Transform command (7:10)
- 03 - Using the reference point (4:20)
- 04 - Skewing and distorting a layer (6:57)
- 05 - Bending warping a layer (7:57)
- 06 - Transform and duplicate in one operation (4:13)
- 07 - Transform and duplicate keyboard shortcuts (5:29)
- 08 - Setting the Free Transform frame color (4:50)
- 09 - Transforming a selection outline (7:25)
- 10 - Repeating one or more transformations (7:09)
- 11 - Customizing a repeated transformation (3:26)
- 12 - Transforming and warping text (9:47)
- 13 - Filling text with a warped gradient (6:52)
- 01 - Photoshop’s indestructible envelopes (1:46)
- 02 - Three ways to create a Smart Object (5:36)
- 03 - Applying nondestructive transformations (6:55)
- 04 - Applying nondestructive distortions (6:21)
- 05 - Masking Smart Objects (8:53)
- 06 - Editing the contents of a Smart Object (10:04)
- 07 - Applying editable smart adjustments (4:35)
- 08 - Applying and blending Smart Filters (6:43)
- 09 - Editing a filter mask (6:53)
- 10 - Applying Camera Raw as a Smart Filter (6:20)
- 11 - Opening a Camera Raw Smart Object (4:25)
- 12 - Two ways to duplicate a Smart Object (6:03)
- 13 - Protecting editable text (5:08)
- 14 - Using nested Smart Objects (5:25)
- 15 - Editing text inside a nested Smart Object (3:12)
- 16 - Pasting a Smart Object from Illustrator (6:03)
- 17 - Troubleshooting Illustrator Smart Objects (4:58)
- 01 - Restoring missing details (0:45)
- 02 - Uncropping a photo by expanding the canvas (5:54)
- 03 - The Content-Aware Scale command (7:06)
- 04 - The Content-Aware Fill taskspace (7:22)
- 05 - When to turn Color Adaptation down or off (8:02)
- 06 - Restoring a missing photographic element (7:06)
- 07 - Fitting a photo to a custom print size (8:41)
- 08 - Applying an image stack mode (6:47)
- 09 - Combining a stack mode with Spot Healing (4:05)
- 10 - Erasing people with the Median mode (7:12)
- 11 - Blurring away registration problems (4:21)
- 12 - Auto-blending multiple depths of field (6:34)
- 13 - Auto-blending with more flexibility (5:35)
- 02 - Introducing the Liquify filter (8:17)
- 01 - Perfecting the human form (1:13)
- 03 - Using the Pucker and Bloat tools (9:29)
- 04 - The Twirl, Push, and Smooth tools (7:03)
- 05 - Using Liquify’s masking tools (8:24)
- 06 - Face-Aware Liquify (5:29)
- 07 - Special face-recognition scenarios (5:17)
- 08 - Making direct edits with the Face tool (3:59)
- 09 - Resetting any and all facial features (3:55)
- 01 - Photoshop’s alternative to pixels (1:15)
- 02 - How vector-based shape layers work (6:46)
- 03 - Introducing the Shape tools (4:41)
- 04 - Rounding the corners of a live rectangle (3:42)
- 05 - Controlling the visibility of a path outline (3:25)
- 06 - Creating a dashed or dotted border (5:20)
- 07 - Aligning and positioning a shape (3:17)
- 08 - Custom shapes and the Shapes panel (5:33)
- 09 - Duplicating and distributing shapes (2:41)
- 10 - Creating your own custom shape (5:46)
- 11 - Designing a custom shape in Illustrator (7:22)
- 12 - Selecting, modifying, and combining shapes (7:33)
- 13 - The wily ways of the Line tool (4:55)
- 14 - Drawing a line with an arrowhead (4:47)
- 15 - Curving a line with the Convert Point tool (4:28)
- 16 - Blending vectors with a pixel-based photograph (6:50)
- 01 - Blending layers (1:26)
- 02 - Normal and Dissolve (5:27)
- 03 - Using the Dissolve mode (7:27)
- 04 - Multiply and the other darken modes (6:20)
- 05 - Using the Multiply mode (8:07)
- 06 - Screen and the other lighten modes (4:49)
- 07 - Using the Screen mode (9:26)
- 08 - Using the Dodge and Burn modes (5:44)
- 09 - Overlay and the contrast modes (7:17)
- 10 - Using the Overlay and Soft Light modes (6:36)
- 11 - Difference, Exclusion, Subtract, and Divide (6:15)
- 12 - Capturing the differences between images (5:02)
- 13 - Hue, Saturation, Color, and Luminosity (8:01)
- 14 - Blend mode keyboard shortcuts (5:48)
- 15 - The Brush tool blend modes (5:48)
- 16 - The remarkable “Fill Opacity Eight” (7:29)
- 17 - Blend If This Layer and Underlying Layer (4:50)
- 18 - Using This Layer and Underlying Layer (4:46)
- 01 - Depth, contour, and texture (1:32)
- 02 - Applying a drop shadow (6:23)
- 03 - Working with Fill Opacity (4:05)
- 04 - Applying an inner shadow (6:19)
- 05 - Working with Global Light (5:06)
- 06 - Creating a blurry, spray paint-style type (8:06)
- 07 - Creating your own custom contour (5:43)
- 08 - Introducing Bevel and Emboss (7:13)
- 09 - Combining multiple layer effects (4:18)
- 10 - Copying effects between layers and groups (5:02)
- 11 - Assigning multiple strokes to a single layer (6:48)
- 12 - Combining multiple drop shadows (5:38)
- 01 - Mastering the histogram (1:21)
- 02 - Correcting an image automatically (6:03)
- 03 - Customizing a Levels adjustment (5:54)
- 04 - Previewing clipped pixels (6:10)
- 05 - Understanding the gamma value (4:27)
- 06 - Making channel-by-channel adjustments (7:04)
- 07 - Cleaning up scanned line art (7:05)
- 08 - Cleaning up complex mechanicals (5:53)
- 09 - Quicker layer masks with Levels (7:01)
- 10 - Introducing the Curves adjustment (7:21)
- 11 - The Curves Targeted Adjustment tool (5:27)
- 12 - Assigning shortcuts to adjustment layers (5:51)
- 01 - What to do when everything is crooked (1:07)
- 02 - Introducing Lens Correction (3:52)
- 03 - Distortion, aberrations, and vignette (5:22)
- 04 - Adjusting angle and perspective (5:29)
- 05 - Using the Perspective Warp command (7:06)
- 06 - Fine-tuning your perspective adjustment (7:16)
- 07 - Evening out color and lighting (4:10)
- 08 - Quilt Warp (also know as Envelope Warp) (6:16)
- 09 - Multi-point Quilt Warp (4:41)
- 10 - Quilt Warp tips and tricks (5:31)
- 01 - Photoshop’s most powerful plug-in returns (0:59)
- 02 - Automatic lens correction and DNG (5:18)
- 03 - Customizing lens corrections (5:39)
- 04 - Chromatic Aberration and Defringe (6:18)
- 05 - Auto-correcting JPEG or TIFF images (7:53)
- 06 - Lens correction assists straightening (4:09)
- 07 - Using the powerful geometry controls (6:45)
- 08 - Painting with the Adjustment Brush (8:40)
- 09 - Using the Graduated Filter tool (6:16)
- 10 - Using the Radial Filter tool (3:46)
- 11 - Auto Mask and Range Mask (6:44)
- 12 - Enhance and Super Resolution (5:18)
- 02 - Three ways to convert to grayscale (6:17)
- 01 - Shoot in color, convert to black and white (1:53)
- 03 - Introducing the Channel Mixer (6:32)
- 04 - Mixing a custom black-and-white image (6:00)
- 05 - Creating an infraredsnow effect (4:31)
- 06 - Introducing the Black & White adjustment (2:31)
- 07 - Customizing a Black & White adjustment (4:57)
- 08 - Tinting an image (3:21)
- 09 - Blending black and white with color (5:02)
- 10 - Convert to black and white in Camera Raw (5:56)
- 11 - Color grading in Camera Raw (5:14)
- 12 - Color grading Blending and Balance (4:08)
- 02 - Quick colorization (3:11)
- 01 - Infusing black and white with color (1:30)
- 03 - Creating a professional-quality sepiatone (3:27)
- 04 - The best of the best Gradient Map (5:46)
- 05 - Loading the Photographic Toning gradients (3:31)
- 06 - Loading tailor-made gradients (2:26)
- 07 - Designing your own custom quadtone (4:59)
- 08 - Creating psychedelic arbitrary maps (4:38)
- 01 - How sharpening works (1:40)
- 02 - Introducing Unsharp Mask (7:16)
- 03 - Blending your sharpening effect (4:54)
- 04 - Reining in sharpness with a filter mask (6:48)
- 05 - Introducing Smart Sharpen (5:33)
- 06 - Remove Lens Blur and Reduce Noise (4:32)
- 07 - Preventing shadowhighlight clipping (3:49)
- 08 - Compensating for camera shake (4:00)
- 09 - Further compensating with Emboss (3:20)
- 10 - Sharpening with the High Pass filter (4:11)
- 11 - Painting with the Sharpen tool (2:08)
Example Image with Text
Use this Image with Text block to balance out your text content with a complementary visual to strengthen messaging and help your students connect with your product, course, or coaching. You can introduce yourself with a profile picture and author bio, showcase a student testimonial with their smiling face, or highlight an experience with a screenshot.
Example Featured Products
Showcase other available courses, bundles, and coaching products you’re selling with the Featured Products block to provide alternatives to visitors who may not be interested in this specific product.
